
The Horror Mansion Map Guide
Learn every key room in K1ir’s compact haunted mansion and how to route between them under pressure.
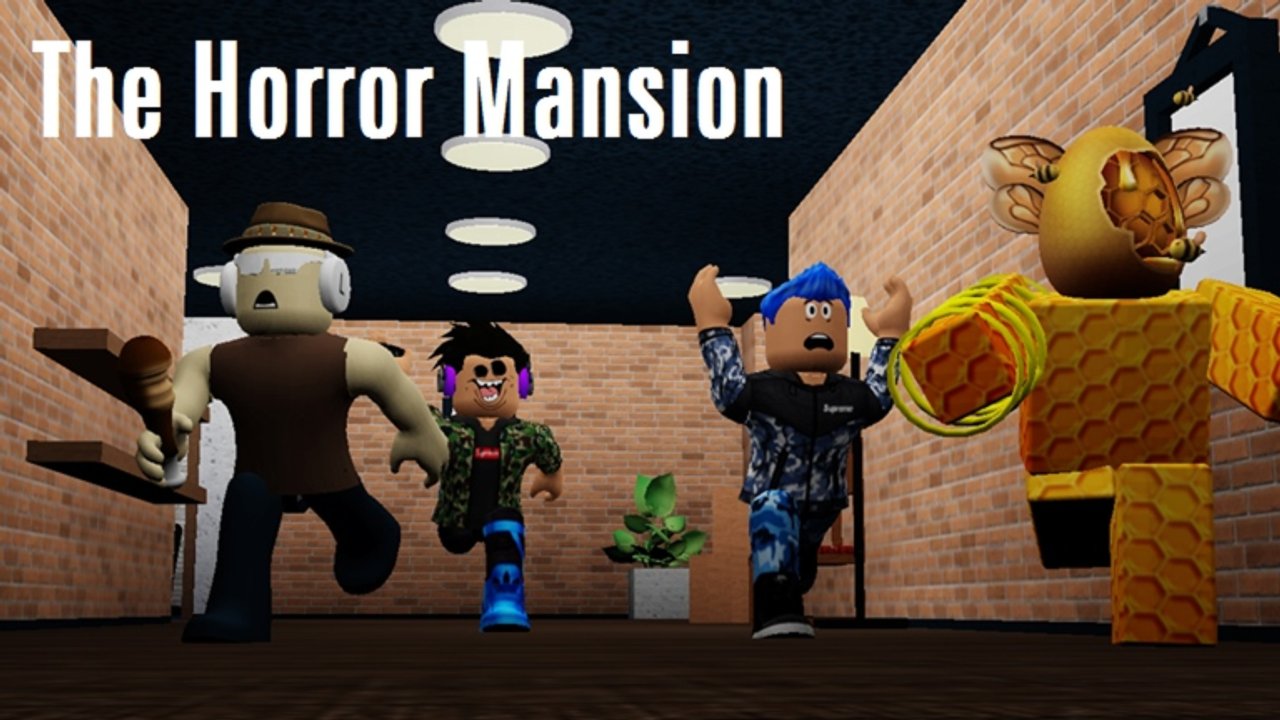
The map of The Horror Mansion is intentionally small. That is the design joke and the design challenge. K1ir’s free-to-play Roblox survival horror/comedy experience (released 2016-10-13, place 522527978, universe 203829788) packs online multiplayer rounds into a haunted mansion where killers spawn on a repeating cadence—community reports often describe roughly ~90-second-style waves. If you do not know the rooms, you sprint into dead ends. If you do, you convert panic into planned cuts.
Use this guide with Getting Started, then apply routes in How to Survive. Furniture holds are covered in Safe Zones; quirkier breaks live in Glitches.
Map philosophy
Unlike giant Roblox horror hubs, The Horror Mansion asks you to master a handful of sectors deeply. You should be able to answer, without thinking:
- Where do killers often appear?
- Which two exits leave my current room?
- Which props nearby can I climb?
If you cannot answer those, slow down and walk the mansion once before treating the session seriously.
Main room (killer spawn focal point)
The main room is your orientation landmark and your danger magnet. Killers frequently pressure this space at the start of a round. Cross it when you must; do not AFK in the center “to watch the spawn.” Pre-aim toward lab, kitchen, or storage the moment a wave begins.
Survival tip: treat the main room like a traffic intersection—useful, lethal if you loiter.
Computer lab
The computer lab is a premier early-game sector because desks and props support elevation tech. Learn at least one clean desk mount here before advancing to storage micro-ledges. Lab doorways also create line-of-sight breaks when you cut through from hallways.
Practice plan: enter lab → climb → dismount toward a hallway → re-enter from another door. That loop builds muscle memory for chases.
Hallways
Hallways connect everything and punish tunnel vision. Straight sprints are easy reads for fast killers. Weave into rooms, change elevation, and avoid becoming a highlight reel. Hallways are also where team congestion happens—leave space near door frames so teammates can enter climbs.
When you die repeatedly in the same corridor, ban that corridor for two rounds and force a kitchen or storage route instead.
Kitchen
The kitchen offers mid-map flexibility: counters, alternate exits, and paths that reconnect to hallways without returning through the main room every time. It is an excellent second sector when lab desks are crowded with public-server climbers.
Do not assume kitchen props beat every killer. Rotate if a threat walks onto counters without delay, and check archetypes later on the Killers Tier List.
Restrooms
Restrooms are tight. They can break line of sight for a moment, but they also trap you if a killer plugs the entrance. Use them as transitional jukes, not primary homes. Prefer rooms with climbable furniture when you need a true hold.
Comedy deaths in restrooms are part of the game’s horror/comedy tone—learn from them, then stop repeating the same hide.
Storage
Storage rewards players who practiced irregular jumps. Stacked props and awkward colliders support advanced holds described across Safe Zones and Glitches. Beginners should still visit storage early to learn the pathing—even if you only use simple climbs at first.
Storage also serves as a reset sector between waves when the main room is chaotic.
Suggested learning routes
Route A — Beginner circuit
Main room edge → computer lab → hallway → kitchen → hallway → storage → return without sprinting the entire loop. Do this once each session.
Route B — Chase circuit
Lab climb → dismount to hallway → kitchen cut → storage climb → drop toward a two-exit hallway. This is the backbone of longer runs under roughly ~90-second-style pressure.
Route C — Panic recovery
If you lose orientation, find the main room visually, then immediately leave toward lab or kitchen—never “think” in the spawn tile.
Callouts that help public servers
Short location words beat novels: “lab,” “kitchen,” “storage,” “main.” Killer names can wait until you recognize frequent faces among the 200+ documented roster (ANGER44, Limbless, Umbra, Necrobloxicon, Slendytubbies Face, SCP variants, and others).
Platforms and readability
On PC/Mac, use a slightly higher camera to read doorways early. On mobile, landscape helps with desk jumps. On Xbox, raise look sensitivity enough to snap between hallway exits. Details sit in Controls.
What the map is not
- A Midnight Horrors shop floor plan—do not invent those prices as THM facts
- A code hunting ground—mid-2026 research shows no active codes (Codes Hub, How to Redeem Codes)
- Identical to the sequel layout assumptions—compare via Original vs Sequel and The HORROR Mansion
Keep exploring
After routes feel automatic, run the Survival Checklist, skim Scripts only with safety in mind, read Players for creator context, and browse the Guides Hub, Review, and Wiki Overview.
Know the mansion like a roommate knows a tiny apartment. In The Horror Mansion, that familiarity is the real weapon.
Frequently Asked Questions
Quick answers to the most common questions.
What rooms should I memorize first?
Main room, computer lab, hallways, kitchen, restrooms, and storage. Learn two exits from each before worrying about advanced micro-ledges.
Where do killers usually pressure first?
The main room is a common spawn focal point. Pre-position elsewhere and cross the main room only as needed.
Which room is best for beginners to climb in?
The computer lab. Desks provide relatively consistent mounts compared with irregular storage stacks.
Are restrooms good camping spots?
Usually no. They can break line of sight briefly but often trap you. Prefer furniture elevation in lab, kitchen, or storage.
Does the sequel use the exact same map knowledge?
Do not assume perfect transfer. Learn the classic first, then read Original vs Sequel before relying on remake layouts.